




基于TensorFlow2.0的中文汉字手写体识别

文件列表(压缩包大小 6.71M)
免费
概述
TensorFlow 2.0 中文手写字识别(汉字OCR)
让我们来看一下,相比于简单minist识别,汉字识别具有哪些难点:
- 搜索空间空前巨大,使用的数据集1.0版本汉字就多大3755个,如果加上1.1版本一起,总共汉字可以分为多达7599+个类别!这比10个阿拉伯字母识别难度大很多!
- 数据集处理挑战更大,相比于mnist和fasionmnist来说,汉字手写字体识别数据集非常少,而且仅有的数据集数据预处理难度非常大,非常不直观。
- 汉字识别更考验选手的建模能力,还在分类花?分类猫和狗?随便搭建的几层在搜索空间巨大的汉字手写识别里根本不work!模型太简单和太复杂都不好,甚至会发散!
本项目实现了基于CNN的中文手写字识别,并且采用标准的tensorflow 2.0 api 来构建!相比对简单的字母手写识别,本项目更能体现模型设计的精巧性和数据增强的熟练操作性,并且最终设计出来的模型可以直接应用于工业场合,比如 票据识别, 手写文本自动扫描 等,相比于百度api接口或者QQ接口等,具有可优化性、免费性、本地性等优点。
数据准备
在开始之前,先介绍一下本项目所采用的数据信息。本项目的数据全部来自于CASIA的开源中文手写字数据集,该数据集分为两部分:
- CASIA-HWDB:离线的HWDB,本项目仅仅使用1.0-1.2,这是单字的数据集,2.0-2.2是整张文本的数据集,本项目暂时不用,单字里面包含了约7185个汉字以及171个英文字母、数字、标点符号等;
- CASIA-OLHWDB:在线的HWDB,格式一样,包含了约7185个汉字以及171个英文字母、数字、标点符号等,本项目不用。
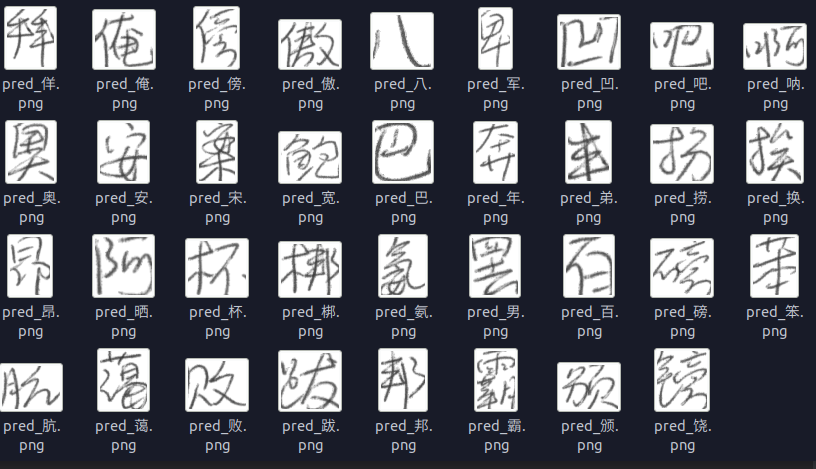
其实你下载1.0的train和test差不多已经够了,可以直接运行 dataset/get_hwdb_1.0_1.1.sh 下载。原始数据下载链接点击这里. 由于原始数据过于复杂,本项目使用一个类来封装数据读取过程. 看到这么密密麻麻的文字相信连人类都.... 开始头疼了,这些复杂的文字能够通过一个神经网络来识别出来??答案是肯定的.... 不有得感叹一下神经网络的强大。。上面的部分文字识别出来的结果是这样的:
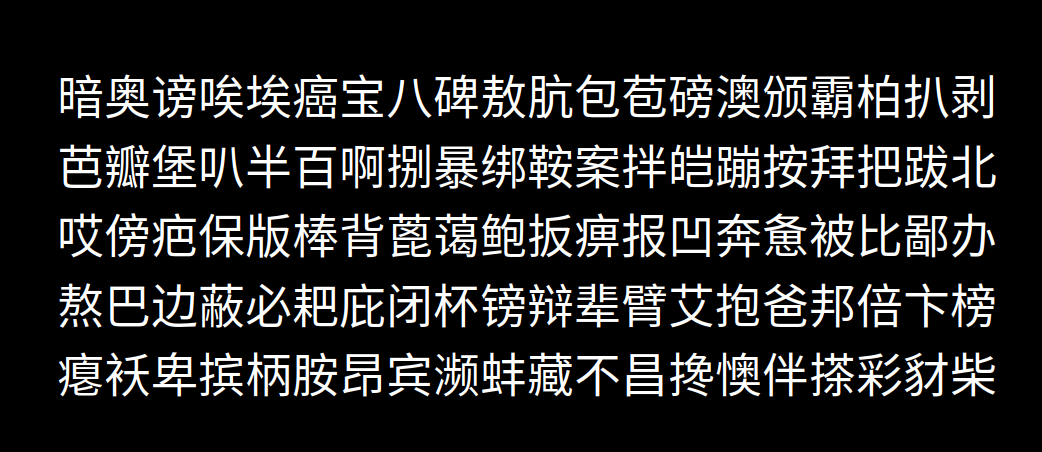 关于数据的处理部分,从服务器下载到的原始数据是 trn_gnt.zip 解压之后是 gnt.alz, 需要再次解压得到一个包含 gnt文件的文件夹。里面每一个gnt文件都包含了若干个汉字及其标注。直接处理比较麻烦,也不方便抽取出图片再进行操作,虽然转为图片存入文件夹比较直观,但是不适合批量读取和训练, 后面本项目统一转为tfrecord进行训练。
更新: 实际上,由于单个汉字图片其实很小,差不多也就最大80x80的大小,这个大小不适合转成图片保存到本地,因此本项目将hwdb原始的二进制保存为tfrecord。同时也方便后面训练,可以直接从tfrecord读取图片进行训练。
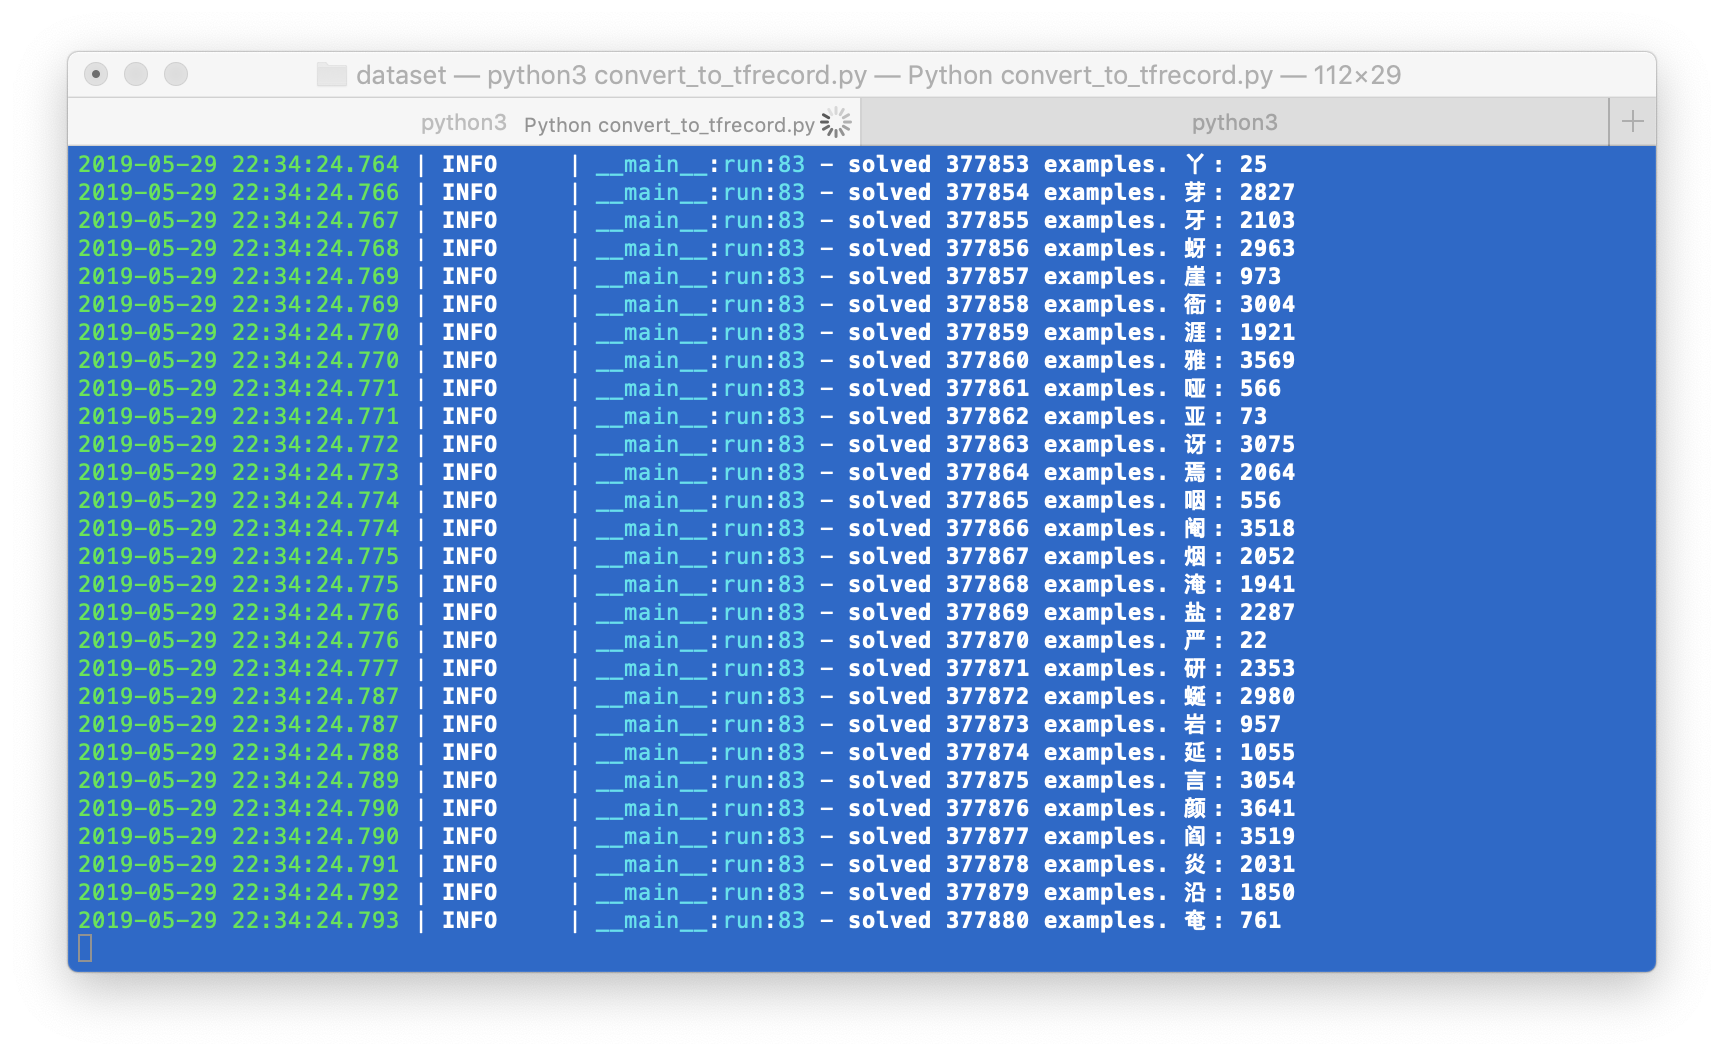
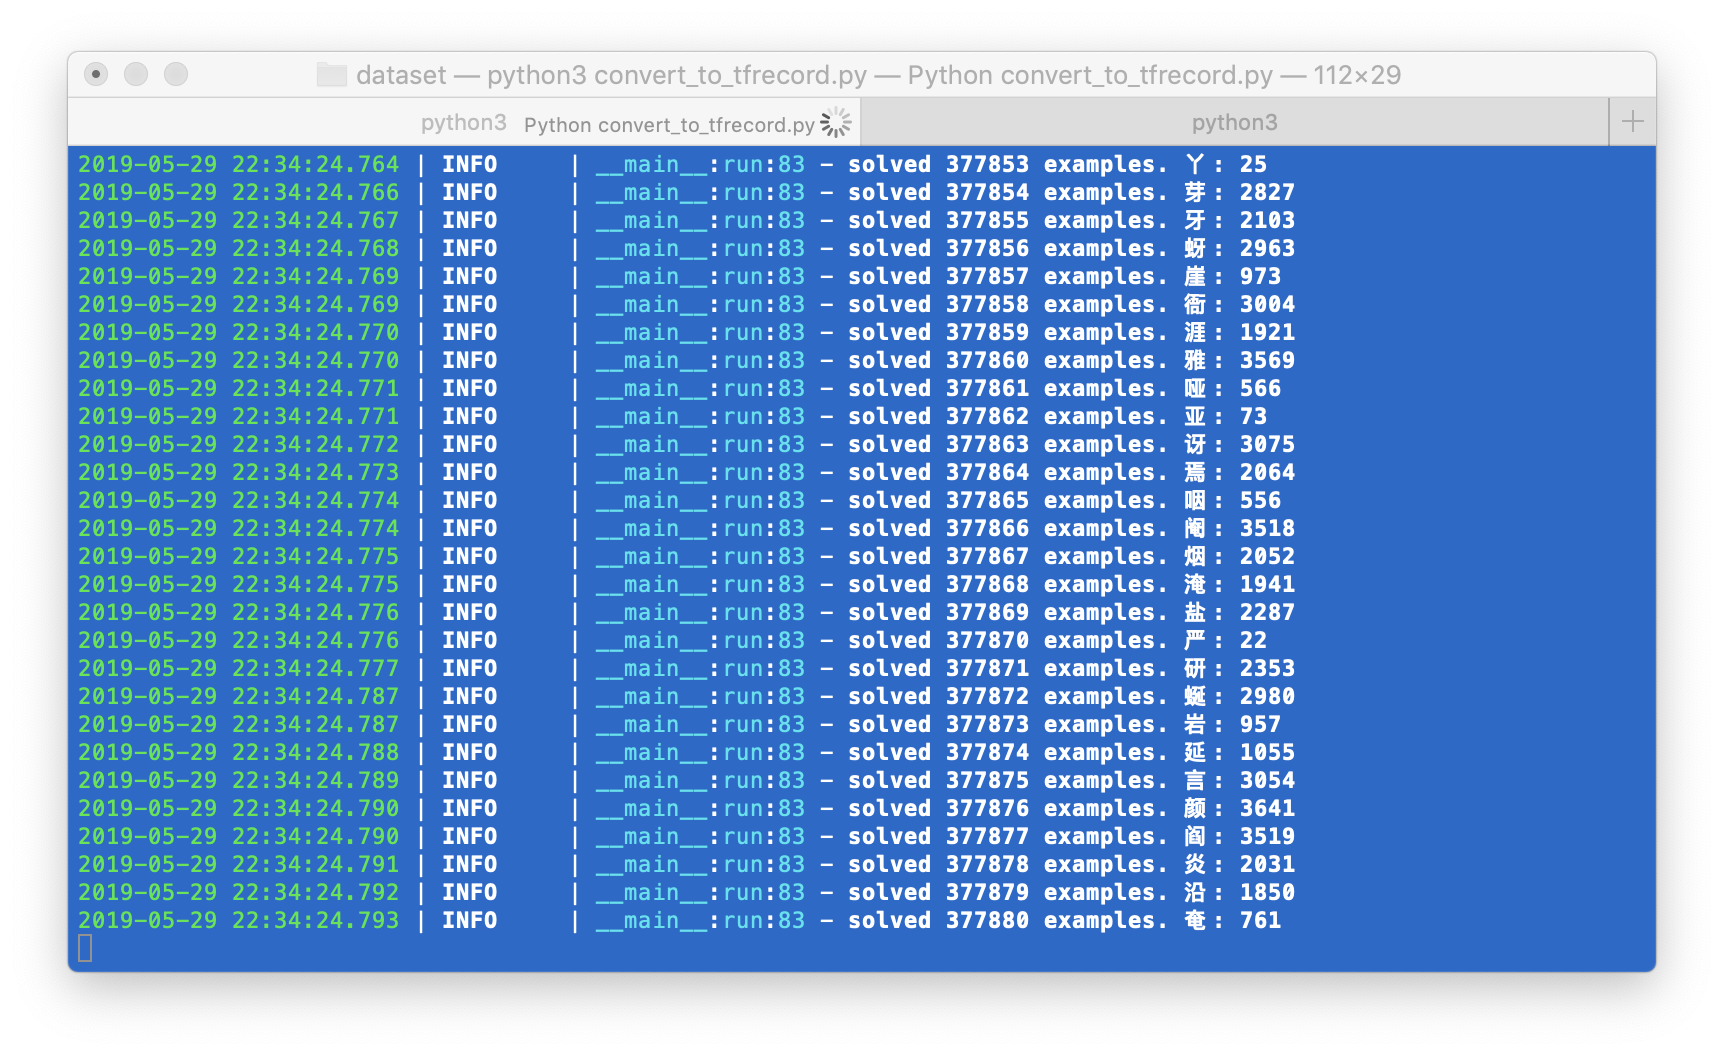 在存储完成的时候大概处理了89万个汉字,总共汉字的空间是3755个汉字。由于暂时仅仅使用了1.0,所以还有大概3000个汉字没有加入进来,但是处理是一样。使用本仓库来生成你的tfrecord步骤如下:
- cd dataset && python3 - ---convert_to_tfrecord.py, 请注意使用的是tf2.0;
- 你需要修改对应的路径,等待生成完成,大概有89万个example,如果1.0和1.1都用,那估计得double。
模型构建
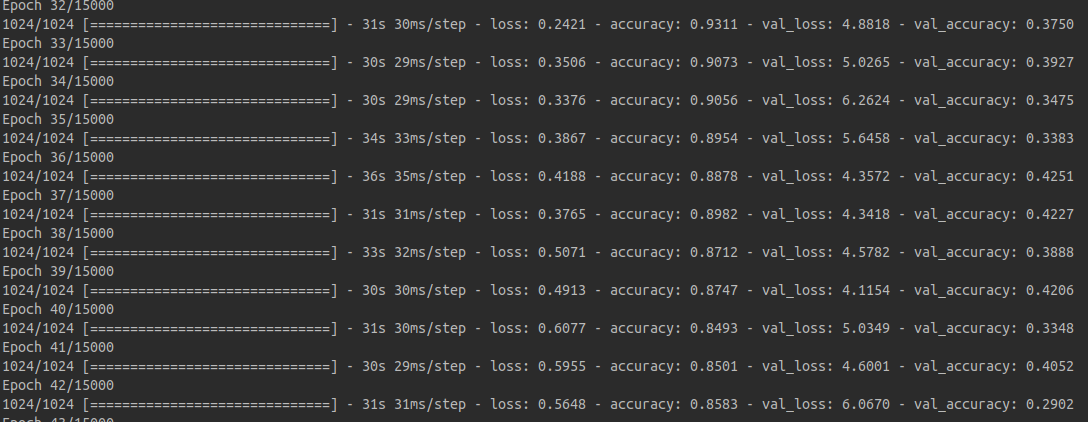
采用的OCR模型的构建,本想怒构建了3个模型分别做测试,三个模型的复杂度逐渐的复杂,网络层数逐渐深入。但是到最后发现,最复杂的那个模型竟然不收敛。这个其中一个稍微简单模型的训练过程:

大家可以看到,准确率可以在短时间内达到87%非常不错,测试集的准确率大概在40%,由于测试集中的样本在训练集中完全没有出现,相对训练集的准确率来讲偏低。可能原因无外乎两个,一个事模型泛化性能不强,另外一个原因是训练还不够。
不过好在这个简单的模型也能达到训练集90%的准确率,it's a good start. 让我们来看一下如何快速的构建一个OCR网络模型:
def build_net_003(input_shape, n_classes):
    model = tf.keras.Sequential([
        layers.Conv2D(input_shape=input_shape, filters=32, kernel_size=(3, 3), strides=(1, 1),
                      padding='same', activation='relu'),
        layers.MaxPool2D(pool_size=(2, 2), padding='same'),
        layers.Conv2D(filters=64, kernel_size=(3, 3), padding='same'),
        layers.MaxPool2D(pool_size=(2, 2), padding='same'),

        layers.Flatten(),
        layers.Dense(n_classes, activation='softmax')
    ])
    return model
这是使用keras API构建的一个模型,它足够简单,仅仅包含两个卷积层以及两个maxpool层。即便是再简单的模型,有时候也能发挥出巨大的用处,对于某些特定的问题可能比更深的网络更有用途。关于这部分模型构建大家只要知道这么几点:
- 如果你只是构建序列模型,没有太fancy的跳跃链接,你可以直接用keras.Sequential 来构建你的模型;
- Conv2D中最好指定每个参数的名字,不要省略,否则别人不知道你的写的事输入的通道数还是filters。
def build_net_002(input_shape, n_classes):
    model = tf.keras.Sequential([
        layers.Conv2D(input_shape=input_shape, filters=64, kernel_size=(3, 3), strides=(1, 1),
                      padding='same', activation='relu'),
        layers.MaxPool2D(pool_size=(2, 2), padding='same'),
        layers.Conv2D(filters=128, kernel_size=(3, 3), padding='same'),
        layers.MaxPool2D(pool_size=(2, 2), padding='same'),
        layers.Conv2D(filters=256, kernel_size=(3, 3), padding='same'),
        layers.MaxPool2D(pool_size=(2, 2), padding='same'),

        layers.Flatten(),
        layers.Dense(1024, activation='relu'),
        layers.Dense(n_classes, activation='softmax')
    ])
    return model
数据输入
其实最复杂的还是数据准备过程啊。这里着重说一下,本项目的数据存入tfrecords中的事image和label,也就是这么一个example:
example = tf.train.Example(features=tf.train.Features(
                        feature={
                            "label": tf.train.Feature(int64_list=tf.train.Int64List(value=[index])),
                            'image': tf.train.Feature(bytes_list=tf.train.BytesList(value=[img.tobytes()])),
                            'width': tf.train.Feature(int64_list=tf.train.Int64List(value=[w])),
                            'height': tf.train.Feature(int64_list=tf.train.Int64List(value=[h])),
                        }))
然后读取的时候相应的读取即可,这里告诉大家几点坑爹的地方:
- 将numpyarray的bytes存入tfrecord跟将文件的bytes直接存入tfrecord解码的方式事不同的,由于本项目的图片数据不是来自于本地文件,所以本项目使用了一个tobytes()方法存入的事numpy array的bytes格式,它实际上并不包含维度信息,所以这就是坑爹的地方之一,如果你不同时存储width和height,你后面读取的时候便无法知道维度,存储tfrecord顺便存储图片长宽事一个好的习惯.
- 关于不同的存储方式解码的方法有坑爹的地方,比如这里本项目存储numpy array的bytes,通常情况下,你很难知道如何解码。
最后load tfrecord也就比较直观了:
def parse_example(record):
    features = tf.io.parse_single_example(record,
                                          features={
                                              'label':
                                                  tf.io.FixedLenFeature([], tf.int64),
                                              'image':
                                                  tf.io.FixedLenFeature([], tf.string),
                                          })
    img = tf.io.decode_raw(features['image'], out_type=tf.uint8)
    img = tf.cast(tf.reshape(img, (64, 64)), dtype=tf.float32)
    label = tf.cast(features['label'], tf.int64)
    return {'image': img, 'label': label}


def parse_example_v2(record):
    """
    latest version format
    :param record:
    :return:
    """
    features = tf.io.parse_single_example(record,
                                          features={
                                              'width':
                                                  tf.io.FixedLenFeature([], tf.int64),
                                              'height':
                                                  tf.io.FixedLenFeature([], tf.int64),
                                              'label':
                                                  tf.io.FixedLenFeature([], tf.int64),
                                              'image':
                                                  tf.io.FixedLenFeature([], tf.string),
                                          })
    img = tf.io.decode_raw(features['image'], out_type=tf.uint8)
    # we can not reshape since it stores with original size
    w = features['width']
    h = features['height']
    img = tf.cast(tf.reshape(img, (w, h)), dtype=tf.float32)
    label = tf.cast(features['label'], tf.int64)
    return {'image': img, 'label': label}


def load_ds():
    input_files = ['dataset/HWDB1.1trn_gnt.tfrecord']
    ds = tf.data.TFRecordDataset(input_files)
    ds = ds.map(parse_example)
    return ds
这个v2的版本就是兼容了新的存入长宽的方式 注意这行代码:
img = tf.io.decode_raw(features['image'], out_type=tf.uint8)
它是对raw bytes进行解码,这个解码跟从文件读取bytes存入tfrecord的有着本质的不同。同时注意type的变化,这里以unit8的方式解码,因为存储进去的就是uint8.
训练过程
一开始写了一个很复杂的模型,训练了大概一个晚上结果准确率0.00012, 发散了。后面改成了更简单的模型才收敛。整个过程的训练pipleline:
def train():
    all_characters = load_characters()
    num_classes = len(all_characters)
    logging.info('all characters: {}'.format(num_classes))
    train_dataset = load_ds()
    train_dataset = train_dataset.shuffle(100).map(preprocess).batch(32).repeat()

    val_ds = load_val_ds()
    val_ds = val_ds.shuffle(100).map(preprocess).batch(32).repeat()

    for data in train_dataset.take(2):
        print(data)

    # init model
    model = build_net_003((64, 64, 1), num_classes)
    model.summary()
    logging.info('model loaded.')

    start_epoch = 0
    latest_ckpt = tf.train.latest_checkpoint(os.path.dirname(ckpt_path))
    if latest_ckpt:
        start_epoch = int(latest_ckpt.split('-')[1].split('.')[0])
        model.load_weights(latest_ckpt)
        logging.info('model resumed from: {}, start at epoch: {}'.format(latest_ckpt, start_epoch))
    else:
        logging.info('passing resume since weights not there. training from scratch')

    if use_keras_fit:
        model.compile(
            optimizer=tf.keras.optimizers.Adam(),
            loss=tf.keras.losses.SparseCategoricalCrossentropy(),
            metrics=['accuracy'])
        callbacks = [
            tf.keras.callbacks.ModelCheckpoint(ckpt_path,
                                               save_weights_only=True,
                                               verbose=1,
                                               period=500)
        ]
        try:
            model.fit(
                train_dataset,
                validation_data=val_ds,
                validation_steps=1000,
                epochs=15000,
                steps_per_epoch=1024,
                callbacks=callbacks)
        except KeyboardInterrupt:
            model.save_weights(ckpt_path.format(epoch=0))
            logging.info('keras model saved.')
        model.save_weights(ckpt_path.format(epoch=0))
        model.save(os.path.join(os.path.dirname(ckpt_path), 'cn_ocr.h5'))
以下为应该遵守几条准则:
- 自动寻找之前保存的最新模型;
- 自动保存模型;
- 捉ctrl + c事件保存模型。
- 支持断点续训练
训练结果:

模型测试
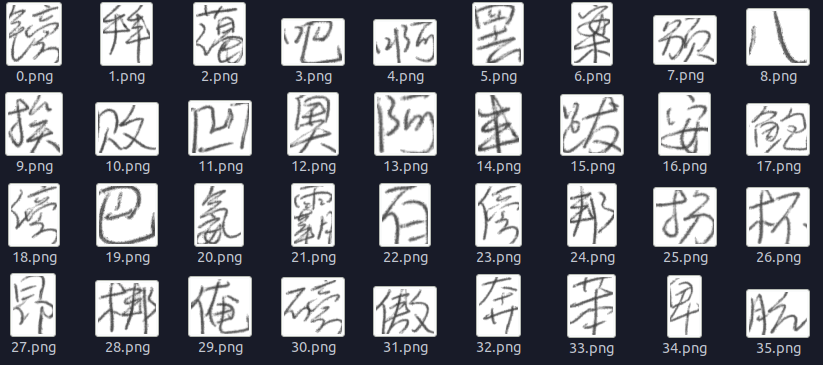 这是大概2000次训练的结果, 基本上能识别出来了
如果遇到文件不能下载或其他产品问题,请添加管理员微信:ligongku001,并备注:产品反馈

 理工酷
理工酷
 资源下载
资源下载


